A regular DIY maintenance routine helps you cut shop labor costs and keep more of your car-care budget in your pocket. Start with oil changes and air filter replacements, then consider jobs like brake pad replacement once you have the tools, skills, and guidance to do them safely.
Key Takeaways: Budget DIY Car Maintenance
- A simple DIY maintenance schedule can save you hundreds of dollars every year on routine car care.
- Oil changes, air filter swaps, and brake pad replacements are among the most cost-effective tasks to handle yourself.
- Knowing when a job is beyond your skill level protects you from turning a small repair into a large one.
- TinkerDIY connects you with certified mechanics via live video so you can tackle repairs with real-time expert guidance.
- Keeping a written maintenance log preserves your warranty coverage and boosts your vehicle's resale value.
Why a DIY Car Maintenance Schedule Saves You Real Money
Routine car care adds up fast when you hand every task to a shop. AAA's 2026 Your Driving Costs study found that the average annual cost to own and operate a new vehicle reached $12,863, and maintenance, repairs, and tires account for a meaningful share of that total. Labor rates at most shops now sit between $80 and $150 per hour, which means a straightforward oil change that takes 20 minutes can still carry a labor charge that doubles the cost of the oil itself.
Doing routine work yourself eliminates those labor charges. A DIY car maintenance approach for tasks like oil changes, filter replacements, and tire rotations can reduce your annual service costs by $300 to $800, depending on how many tasks you take on. That figure grows even larger for rideshare drivers logging higher-than-average mileage on platforms like Uber, Lyft, and Turo.
Building a schedule is what turns occasional savings into a repeatable system. Instead of reacting to warning lights and surprise bills, you plan ahead, buy parts on your own terms, and spread the work across manageable weekend tasks.
What You Need Before You Start: Tools and Workspace Basics
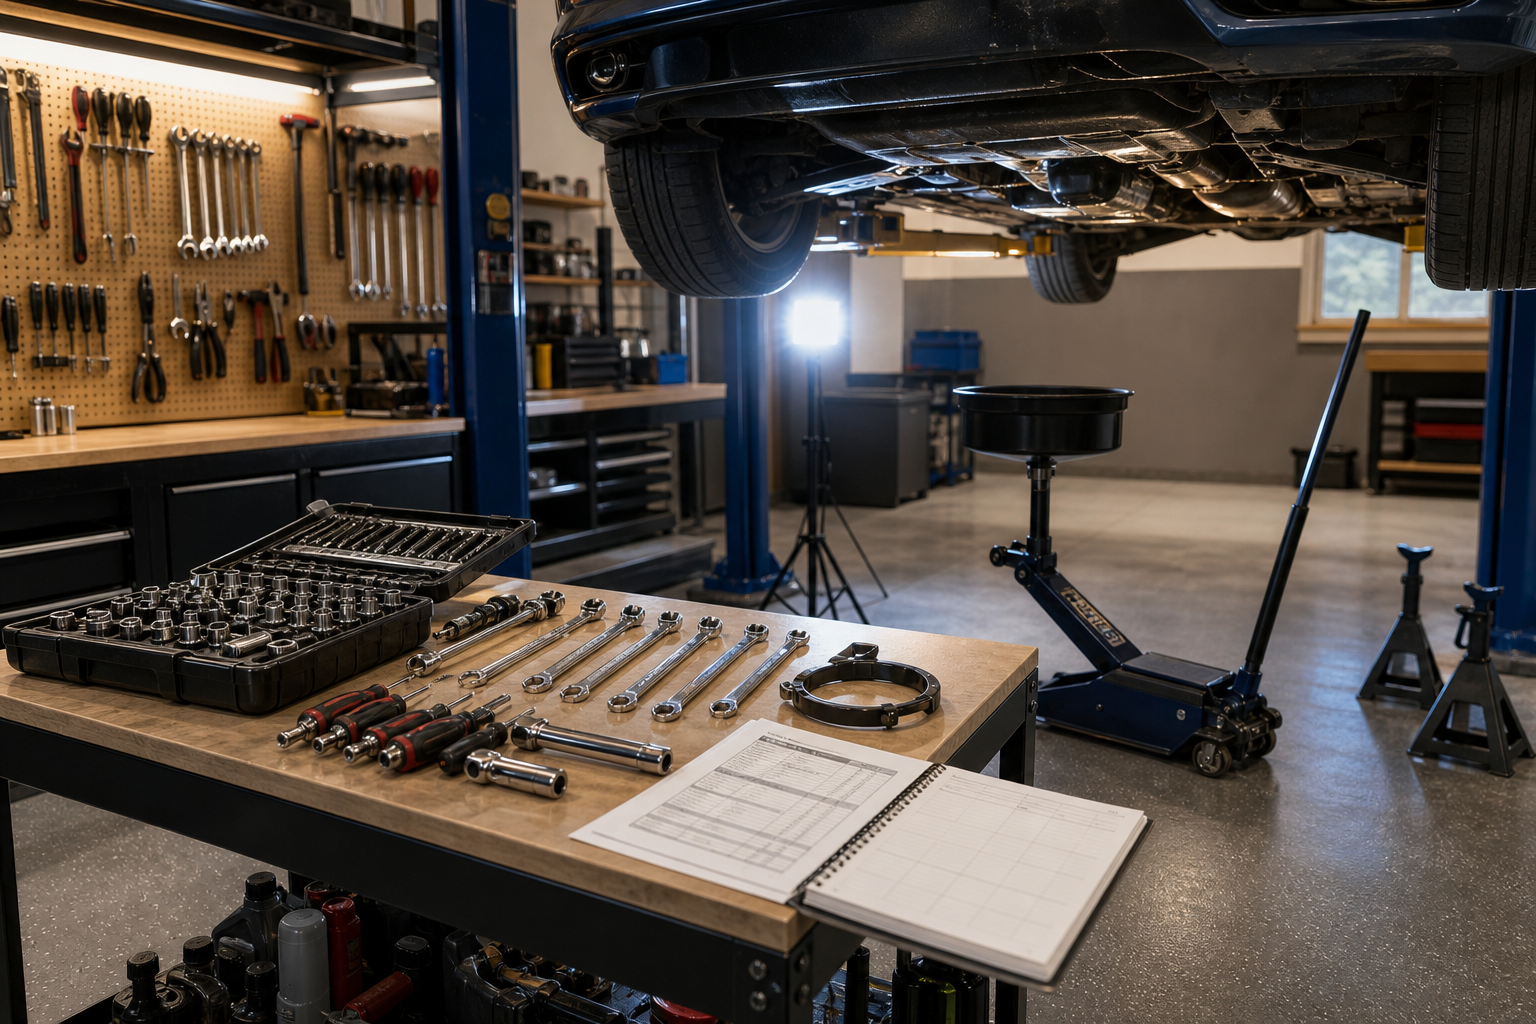
A functional DIY toolkit does not require a large investment. A basic set covering most routine jobs includes a socket set, combination wrenches, screwdrivers, a floor jack, jack stands, a tire pressure gauge, an oil filter wrench, and a drain pan. Most beginners can assemble this collection for roughly $150 to $300.
Jack stands are non-negotiable. A hydraulic floor jack can fail without warning, and supporting a vehicle on the jack alone has caused fatal accidents. Always place jack stands under the vehicle's designated jack points before sliding underneath.
An OBD-II scanner is another tool worth adding early. These plug into a diagnostic port (usually located under the dashboard near the steering column) and read the diagnostic trouble codes (DTCs) stored in the vehicle's computer. A mid-range Bluetooth scanner that pairs with your smartphone gives you real-time sensor readings, helping you pinpoint problems instead of guessing. Your owner's manual will confirm the port location for your specific make and model.
Setting Up Your Workspace
A level, paved surface is the minimum requirement for safe work. Gravel and grass shift under jack stands, and uneven ground makes fluid level checks unreliable. If you use a garage, keep a fire extinguisher within reach and store flammable materials away from the work area.
Good lighting matters more than most people expect. A portable LED work light positioned at the underside of the vehicle makes drain plugs, filters, and hose connections visible without awkward angles. For a deeper look at recommended gear, TinkerDIY's guide to must-have garage tools covers the essentials by category.
How to Build a DIY Car Maintenance Schedule
Your owner's manual is the starting point for every schedule. It lists manufacturer-recommended service intervals for oil changes, fluid flushes, belt inspections, and filter replacements specific to your engine, drivetrain, and climate conditions. Ignore generic "every 3,000 miles" advice that may not match your vehicle's actual requirements.
Start by listing the recurring tasks your vehicle needs, then group them by frequency. Most schedules break down into monthly checks, quarterly services, and annual or mileage-based jobs. A simple spreadsheet or notebook with columns for task, date, mileage, and parts used keeps everything organized and creates a paper trail for warranty claims or resale documentation.
Monthly Checks (5 to 10 Minutes)
These quick visual and measurement checks catch problems before they grow. Start with tire pressure, using a gauge to verify all four tires match the PSI listed on the sticker inside your driver-side door (not the number on the tire sidewall). Then check your oil level with the dipstick while the engine is cool. Oil that looks grainy, milky, or significantly below the minimum mark tells you something needs attention right away.
While you have the hood open, glance at your coolant reservoir level, brake fluid reservoir, and windshield washer fluid. Squeeze a few hoses to check for cracks or a brittle, crunchy texture. These monthly checks take less than ten minutes and give you early warning of tire problems or fluid leaks that would otherwise go unnoticed until your next shop visit.
Quarterly Services (30 to 60 Minutes Each)
Tire rotation extends tread life by distributing wear evenly across all four tires. Most vehicles call for rotation every 5,000 to 7,500 miles, which lands roughly every three months for an average driver. Your owner's manual specifies the correct rotation pattern (front-to-back, cross-pattern, or side-specific for directional tires).
This is also a natural time to inspect your cabin and engine air filters. A clogged engine air filter restricts airflow to the combustion chamber, reducing fuel efficiency and performance. Most filters slide out of a plastic housing held by clips, and replacement takes under five minutes.
Every 5,000 to 10,000 Miles: Oil and Filter Changes
Oil breaks down with heat and use, losing its ability to lubricate and cool internal engine components. The interval between changes depends on your oil type (conventional, synthetic blend, or full synthetic) and your driving conditions. Frequent short trips, dusty roads, and towing shorten the interval. Your manual lists the exact specification.
Doing an oil change yourself typically costs $25 to $40 in materials, compared to $75 to $150 at a shop. The process involves draining the old oil, replacing the oil filter, and refilling with the correct type and quantity. Dispose of the used oil responsibly at a retailer or municipal drop-off point. For a closer look at oil change intervals and common myths, check out this breakdown on oil change frequency.
Every 12 Months or 12,000 Miles: Deeper Inspections
Once a year, go beyond the routine checks. Inspect your brake pads for thickness. Any pad measuring less than a quarter inch (about 6 mm) needs replacement. While you have the wheels off, examine the rotors for scoring or grooves and look for uneven pad wear that might signal a sticking caliper.
Check your battery terminals for white or blue corrosion buildup. Clean them with a wire brush and tighten the connections. A fully charged battery should read around 12.6 volts with a multimeter. If it reads below 12.2 volts, the battery may be near end of life. For more detailed battery diagnostics, TinkerDIY walks you through the testing process step by step.
This annual window is also the right time to inspect belts for fraying or glazing, check coolant condition (replace it if the fluid appears rusty or has been in the system for more than five years), and verify that all exterior lights are functioning.
Tackling the High-Savings DIY Jobs
Some maintenance tasks save you far more than others because the shop markup on labor is disproportionately high. Knowing which jobs offer the largest return on your time helps you prioritize what to learn first.
Brake Pad Replacement
Brake pad replacement is one of the highest-value DIY jobs you can learn. Shops commonly charge $150 to $300 per axle, while a set of quality pads costs $30 to $60 for most vehicles. The process involves removing the wheel, unbolting the caliper, sliding out the old pads, compressing the caliper piston, and installing the new pads.
Brakes are a safety-critical system, so precision matters here. Torque the caliper bolts to the specification in your manual, and always bed in new pads by performing a series of gradual stops from moderate speed before driving normally. If you want a detailed walkthrough, TinkerDIY's guide on changing your own brake pads covers the full sequence.
Spark Plug Replacement
Worn spark plugs cause misfires, rough idling, and reduced fuel economy. Most vehicles call for replacement between 30,000 and 100,000 miles depending on the plug type (copper, platinum, or iridium). A set of plugs costs $15 to $40 for a four-cylinder engine, while shops often charge $100 to $200 for the job.
Removing and installing spark plugs requires a spark plug socket, a torque wrench, and a gap gauge. Check the gap specification in your owner's manual and verify each new plug before installation. Over-torquing can crack the ceramic insulator or strip the threads in the cylinder head, turning a simple job into a costly one.
Transmission Fluid Check and Top-Off
Healthy automatic transmission fluid (ATF) is typically vibrant red and slightly sweet-smelling. Dark fluid with a burnt odor signals that the fluid has broken down and lost its protective properties, which can lead to premature wear inside the transmission. Always refer to your owner's manual to verify the correct fluid type for your vehicle, because using the wrong specification can cause shifting problems or internal damage.
Many vehicles have a transmission dipstick similar to the oil dipstick, though some newer models use a sealed system that requires a scan tool to check fluid level. If your vehicle has a dipstick, check the level with the engine running and the transmission in park. For a more detailed look at the process, TinkerDIY's overview of adding transmission fluid walks you through each step.
When to Call a Professional (and How Live Mechanic Support Bridges the Gap)
Not every repair belongs in your driveway. Work involving airbag systems, ABS modules, AC refrigerant (which requires EPA-certified handling), and internal engine or transmission rebuilds carries risk levels that can exceed the savings. Misdiagnosing a check engine light and replacing the wrong part can wipe out months of savings in a single afternoon.
This is where TinkerDIY gives you an advantage that generic repair videos cannot. Through the TinkerDIY app, you connect with an ASE-certified Tinker Expert via live one-on-one video call. The Expert sees your engine bay, your dashboard codes, or your brake assembly in real time and guides you through the repair as you work. If a task turns out to be beyond a safe DIY scope, the Expert tells you before you cause damage, not after.
That combination of self-service maintenance and on-demand expert support is what separates a sustainable DIY practice from guesswork. You build skills over time while having a safety net for the jobs that push past your current level.
Special Considerations for Rideshare and High-Mileage Drivers
If you drive for Uber, Lyft, Turo, or any delivery platform, your vehicle racks up miles two to three times faster than a typical commuter car. That compressed timeline means every maintenance interval arrives sooner, and skipping even one service has bigger consequences for your earnings.
Rideshare drivers should tighten their oil change interval to the shorter end of the manufacturer's recommended range. The same applies to tire rotations and brake inspections. A set of brake pads that lasts a commuter 40,000 miles might need replacement at 20,000 to 25,000 miles under heavy city driving and frequent stops.
Keeping records is especially important for gig drivers. Documented maintenance expenses are tax-deductible, and a clean service history helps you pass rideshare vehicle inspections without delays. Platforms can deactivate drivers whose vehicles fail inspection, which means downtime and lost income.
How to Track Maintenance and Protect Your Warranty
Under the Magnuson-Moss Warranty Act, performing your own maintenance does not automatically void your manufacturer warranty. The key word is "automatically." If a dealer can demonstrate that your work caused a failure, they can deny the claim. Detailed documentation prevents that scenario.
For every service you perform, record the date, odometer reading, parts used (with receipts), and the task completed. Photographing the old part next to the new one adds a layer of proof that the work was actually done. Digital or physical records both work as long as they are consistent and accessible.
A maintenance log also boosts resale value. Buyers trust a vehicle with a documented service history that shows consistent, on-schedule care. That trust translates directly into a higher asking price when you sell or trade in.
Avoiding Common DIY Mistakes That Cost More Than They Save
Skipping the torque wrench is one of the most frequent mistakes new DIYers make. Drain plugs, wheel lugs, and spark plugs all have specific torque values listed in the vehicle's service manual. Over-tightening a drain plug can strip the oil pan threads, turning a $30 oil change into a $300 repair.
Using the wrong fluid is another costly error. Engine oil weight, transmission fluid specification, coolant type, and brake fluid rating (DOT 3, DOT 4) all vary by vehicle. Your owner's manual is the definitive reference for every fluid your car uses. When in doubt, defer to the manual rather than trusting a generic recommendation.
Working under a vehicle supported only by a floor jack is dangerous and unnecessary. Jack stands cost $30 to $60 for a pair and take seconds to place. No amount of savings justifies the risk of a hydraulic failure while you are underneath. According to a 2026 AAA analysis, the cost of professional roadside assistance after a DIY accident far exceeds the price of basic safety equipment.
Building Your DIY Confidence Over Time
Start with the lowest-risk, highest-frequency tasks: checking tire pressure, topping off washer fluid, and replacing wiper blades. These build your comfort level under the hood without any real downside if you make a small mistake.
Once those feel routine, move to oil changes and air filter replacements. After a few successful rounds, brake pad swaps and spark plug changes become the next logical step. Each new skill compounds on the last, and within a year or two you will handle the majority of your vehicle's routine care yourself.
When you hit a task that feels unfamiliar or involves a safety system, that is exactly the right time to call a Tinker Expert. A 20-minute video session can walk you through the job in real time, answer your specific questions about your specific vehicle, and give you the confidence to complete the repair correctly. For more helpful DIY advice, speak to a Tinker Expert today!
In Conclusion: How to Start Your Budget Car Maintenance Routine
A DIY car maintenance schedule is not about replacing your mechanic entirely. It is about handling the routine, repeatable tasks that carry the highest shop markup while building the knowledge to make informed decisions about everything else. Start with your owner's manual, invest in a basic toolkit, and commit to monthly checks that take less than ten minutes.
Every oil change, filter swap, and brake inspection you do yourself puts real money back in your pocket and real understanding into your hands. The gap between "I should probably get that checked" and "I already handled it this morning" is smaller than you think.
FAQs About Budget DIY Car Maintenance
How much money can you save with a DIY car maintenance schedule?
Most drivers save between $300 and $800 per year by handling routine tasks like oil changes, filter replacements, and tire rotations at home. Rideshare and high-mileage drivers often save more because they hit service intervals faster. Your actual savings depend on your vehicle, the number of tasks you take on, and local shop labor rates.
What are the easiest car maintenance tasks for beginners?
Checking tire pressure, replacing wiper blades, topping off windshield washer fluid, and swapping cabin air filters are among the simplest starting points. These require minimal tools and carry low risk. TinkerDIY's Tinker Experts can also guide you through your first oil change via a live video call, so you learn proper technique with real-time feedback.
Does doing your own car maintenance void the warranty?
No. The Magnuson-Moss Warranty Act protects your right to perform your own maintenance. A dealer can deny a warranty claim only if your work caused the specific failure. Keep receipts, document every service with dates and mileage, and use parts that meet manufacturer specifications. Consistent records are your strongest protection.
What tools do you need to start DIY car maintenance?
A socket set, combination wrenches, screwdrivers, a floor jack, jack stands, a tire pressure gauge, an oil filter wrench, and a drain pan cover most routine jobs. Budget roughly $150 to $300 for a starter kit. TinkerDIY offers a detailed recommended tools list that breaks down what you need by skill level.
When should you call a professional mechanic instead of doing it yourself?
Leave work involving airbag systems, ABS modules, AC refrigerant, internal transmission rebuilds, and complex electrical diagnostics to a certified shop. If you are unsure about a particular job, a TinkerDIY Tinker Expert can assess the situation over a live video call and tell you whether it is safe to proceed or better left to a professional.