Bleeding Your Brakes at Home: 5 Expert Tips
Bleeding your brakes is an essential skill for any DIY auto mechanic. Whenever you work on your brakes, whether you're upgrading your calipers or just changing the pads, you need to bleed the system. Otherwise, air gets trapped inside, leading to a spongy pedal, diminished performance, and ultimately, compromised safety.
Even if you aren't working on your brakes, it's a good idea to bleed old brake fluid from the system every few years to ensure your vehicle's braking system is operating at its best. Brake fluid absorbs moisture over time, reducing its effectiveness and eventually causing internal corrosion.
Here are five expert tips to make brake bleeding smoother, faster and safer.

Use the Proper Brake Fluid
Choosing the correct brake fluid for your vehicle is a necessity. Brake fluid isn’t one-size-fits-all. Each type is designed with specific conditions and applications in mind. Using the wrong one can lead to total brake failure.
For our detailed guide on brake fluid selection for your car click here, but let’s cover some basics. Always refer to your vehicle’s owner’s manual to determine the type specified by the manufacturer. Glycol-based DOT 3 fluid is the most common. DOT 4 and DOT 5.1, which offer higher boiling points, tend to be used in more demanding applications, such as towing or racing.
Silicone-based DOT 5 is a popular choice for classic cars that see infrequent use, but it's incompatible with the other three types of brake fluid (no mixing) as well as anti-lock braking systems (ABS).
Since brake fluid degrades over time, always use fluid that has been stored in fresh, sealed containers, not that dusty old can that's been sitting on the shelf for years.
Inspect and Prepare the Bleed Screws
Before diving into a brake project, check the condition of your bleeder screws. Start by visually inspecting each one for corrosion, damage or wear. It's not uncommon for them to become seized over time due to exposure to the elements or road salt, making them difficult to loosen.
If you encounter screws that are stuck or corroded, apply penetrating oil to loosen them up. Do this well in advance, preferably the night before you plan to bleed the brakes. That gives the oil time to work its way into the threads.
Also, take a moment to clean around the screws with a wire brush and some brake cleaner to remove any dirt or grime. This prevents contaminants from entering the brake system when the screws are opened.
Despite your best efforts, some bleeder screws may get damaged in the removal process and will need to be replaced. It's wise to have a few spares on hand before you dive in.
Choose the Right Bleeding Method
There's more than one way to bleed your brakes, so choose a method that best suits your needs and setup. Most people use the pump-and-hold method. It's both simple and tried and true. The only catch is it requires two people – one to press and hold the brake pedal while the other opens and closes the bleeder screws.
If you're working by yourself, you have a few alternatives. For those with plenty of time, gravity bleeding is an excellent choice. As the name implies, it involves opening the bleed screws and allowing the fluid to flow out by gravity until it's free of air bubbles. Note that this can take several hours, though.
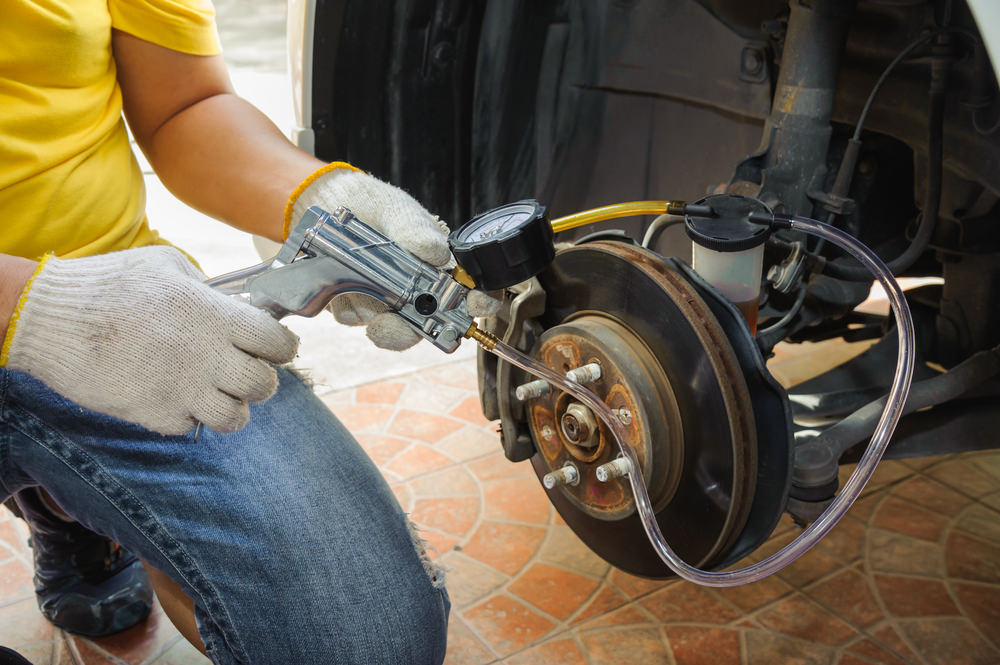
Vacuum bleeding and pressure bleeding are two other solo options. They require specialized tools but are significantly faster than the gravity approach. A vacuum bleeder creates a vacuum at the bleed screw, drawing fluid and air out of the system, while a pressure bleeder connects to the reservoir and pushes fluid through. Both ensure a consistent flow of fluid, reducing the chance of air pockets.
Start at the Caliper Farthest Away
It's important to bleed the system in a sequence that reflects its design, starting with the caliper farthest away from the master cylinder – usually the rear passenger side – and progressively working your way closer from there. This prevents the backward movement of air into segments that have already been bled.
While this approach is widely recommended, note that some systems have specialized requirements. Always double-check your vehicle’s service manual for any specific instructions.
Handle Brake Fluid with Caution
Brake fluid is a corrosive substance that demands caution and respect. Direct contact with the skin or eyes can be harmful, so always wear gloves and safety glasses when handling it. Also, be sure to perform brake work in a well-ventilated area to reduce the risk of inhaling any fumes.
Brake fluid is not only harmful to your skin, it can also strip your car's paint. To prevent spills, try using a large syringe when topping off the fluid reservoir. It's more precise than pouring fluid straight from the bottle and also less likely to introduce air bubbles. If spillage does occur, clean it up immediately with water and a mild detergent.
Finally, be sure to dispose of your old brake fluid responsibly. Do not pour it down the drain or onto the ground, where it can cause environmental damage. Instead, ask your local auto parts store if they accept old fluids, many do, or check with your local waste management facility for guidance.
Still have questions? Speak to one of our Tinker Experts today!


