How to Change the Gear Oil on Your Chevy Silverado
Gear oil, also known as differential fluid, lubricates the hard-working gears inside your Silverado’s differential. It keeps them turning smoothly and quietly as the truck puts its power to the ground. Like all essential fluids, gear oil breaks down with use and time, losing its ability to protect the differential’s internals from wear.
Chevrolet doesn’t specify when to change the gear oil in the Silverado’s differential, but we recommend a refresh at least every six years or 60,000 miles. Cut those intervals in half if you use your truck for towing or other heavy-duty work.
Signs your Silverado is overdue for a gear oil change include unusual noises coming from the rear end or if the fluid looks dirty or contaminated. Fortunately, replacing it is a relatively straightforward DIY task similar to changing your oil.

Here’s a list of tips and tricks from our Tinker Experts.
Tools and Materials
Chevrolet has equipped the Silverado with a variety of differentials over the years, so the first step in this task is to check the owner’s manual for the correct type and quantity of gear oil for your truck. You'll also need a new differential gasket, which the manual will also help you identify.
These are the tools you'll need to do the job right:
- Socket wrench
- Torque wrench
- Drain pan
- Plastic scraper
- Brake cleaner
- Gloves and safety glasses
A fluid pump also comes in handy for refilling the differential with new oil, especially if the fluid you buy doesn't come with a built-in nozzle.
- Getting Started
Start by parking your Chevy Silverado on a level surface and apply the parking brake. If necessary, remove the spare tire to give you easier access to the differential.
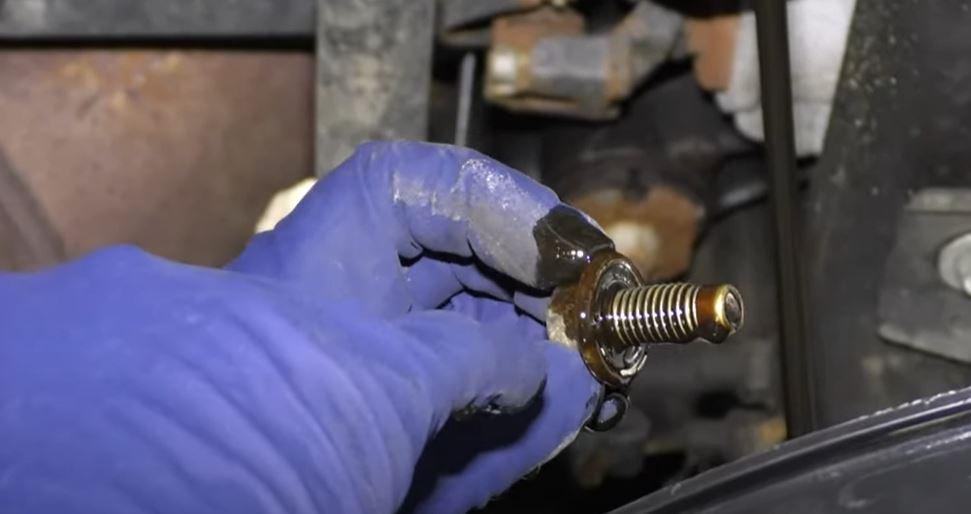
Next, remove the differential fill plug, which is located on the back side of the unit. Starting with removing the fill plug may seem counterintuitive, but it's essential to make sure it isn't stuck. Otherwise, you could wind up with an empty differential and no way to refill it.
- Drain the Old Oil
Chevy doesn't provide a drain plug on the Silverado's rear differential, so you'll need to remove the differential cover to get the old fluid out. Position a drain pan underneath the unit, and then carefully unscrew all but two of the cover's upper bolts. Leaving them loosely attached allows you to control the flow of old fluid and prevents the cover from falling into the drain pan.
As you wait for the differential to drain completely, inspect the old oil for the presence of metal shavings or other debris. This could indicate abnormal wear or damage inside the unit, requiring further inspection or repair.

- Clean and Prep
After draining the fluid, remove the old gasket, which sits between the differential housing and cover. It should pull away cleanly, but if not, carefully scrape away any residue it leaves behind, being mindful not to let debris fall into the differential's sensitive inner workings. Avoid using metal tools in this step; they can gouge the mating surfaces and cause sealing issues later.
Once that's done, spray the inside of the differential cover with a little brake cleaner and wipe away any old oil. Set the cover aside to dry completely before reinstallation.
- Refit the Cover
With everything drained and clean, it’s time to replace the differential cover. Start by positioning the new gasket on the cover. Then thread a top and bottom bolt through to hold the gasket in place while you maneuver the cover back onto the housing. Note that you should not use any additional sealant, as the gasket is designed to seal properly on its own.
With the cover and gasket aligned, insert and hand-tighten the remaining bolts to secure everything. Then use a torque wrench to tighten them to the proper spec, which can be found in your owner's manual. Follow a star pattern when torquing the bolts to ensure even pressure and prevent leaks.
- Refill the Differential
Once the differential cover is reinstalled, refill the differential with the gear oil type and quantity noted in your owner's manual. Use a fluid pump to minimize spillage.
Proceed slowly as the fluid level inside the differential rises near the open fill hole. When it begins to spill out, it’s full. Let it drain and then wipe away the excess before screwing in the fill plug and torquing it to the proper spec.
Finally, take the truck for a test drive to circulate the new oil throughout the differential and ensure everything is functioning correctly. Upon returning, check for any leaks around the differential cover and fill plug.
- Dispose of the Old Gear Oil Properly
The last step is to properly dispose of the old gear oil. Used gear oil is full of toxins and other hazardous materials, so pouring it down the drain or onto the ground is a definite no-no.
Instead, collect the old oil in a sealed container and take it to a recycling facility or an auto parts store that accepts used vehicle fluids.
Finally, don't forget to document your work for future reference. Even if you don’t plan on doing the job again, the truck’s next owner will appreciate knowing when it was last completed.
Still have questions? Speak to one of our Tinker Experts today!


