Detail Your Car Like a Pro with These Expert Tips
A good professional car detail can cost hundreds of dollars. But you don't have to spend big bucks to get professional results. With these expert tips and techniques, you can restore the shine of an older paint job or prep your ride for the next Cars & Coffee weekend gathering.
In this how-to guide we've broken down the secrets of professional detailing into easy-to-follow steps to help you achieve that showroom-fresh look.

Magic of Microfiber
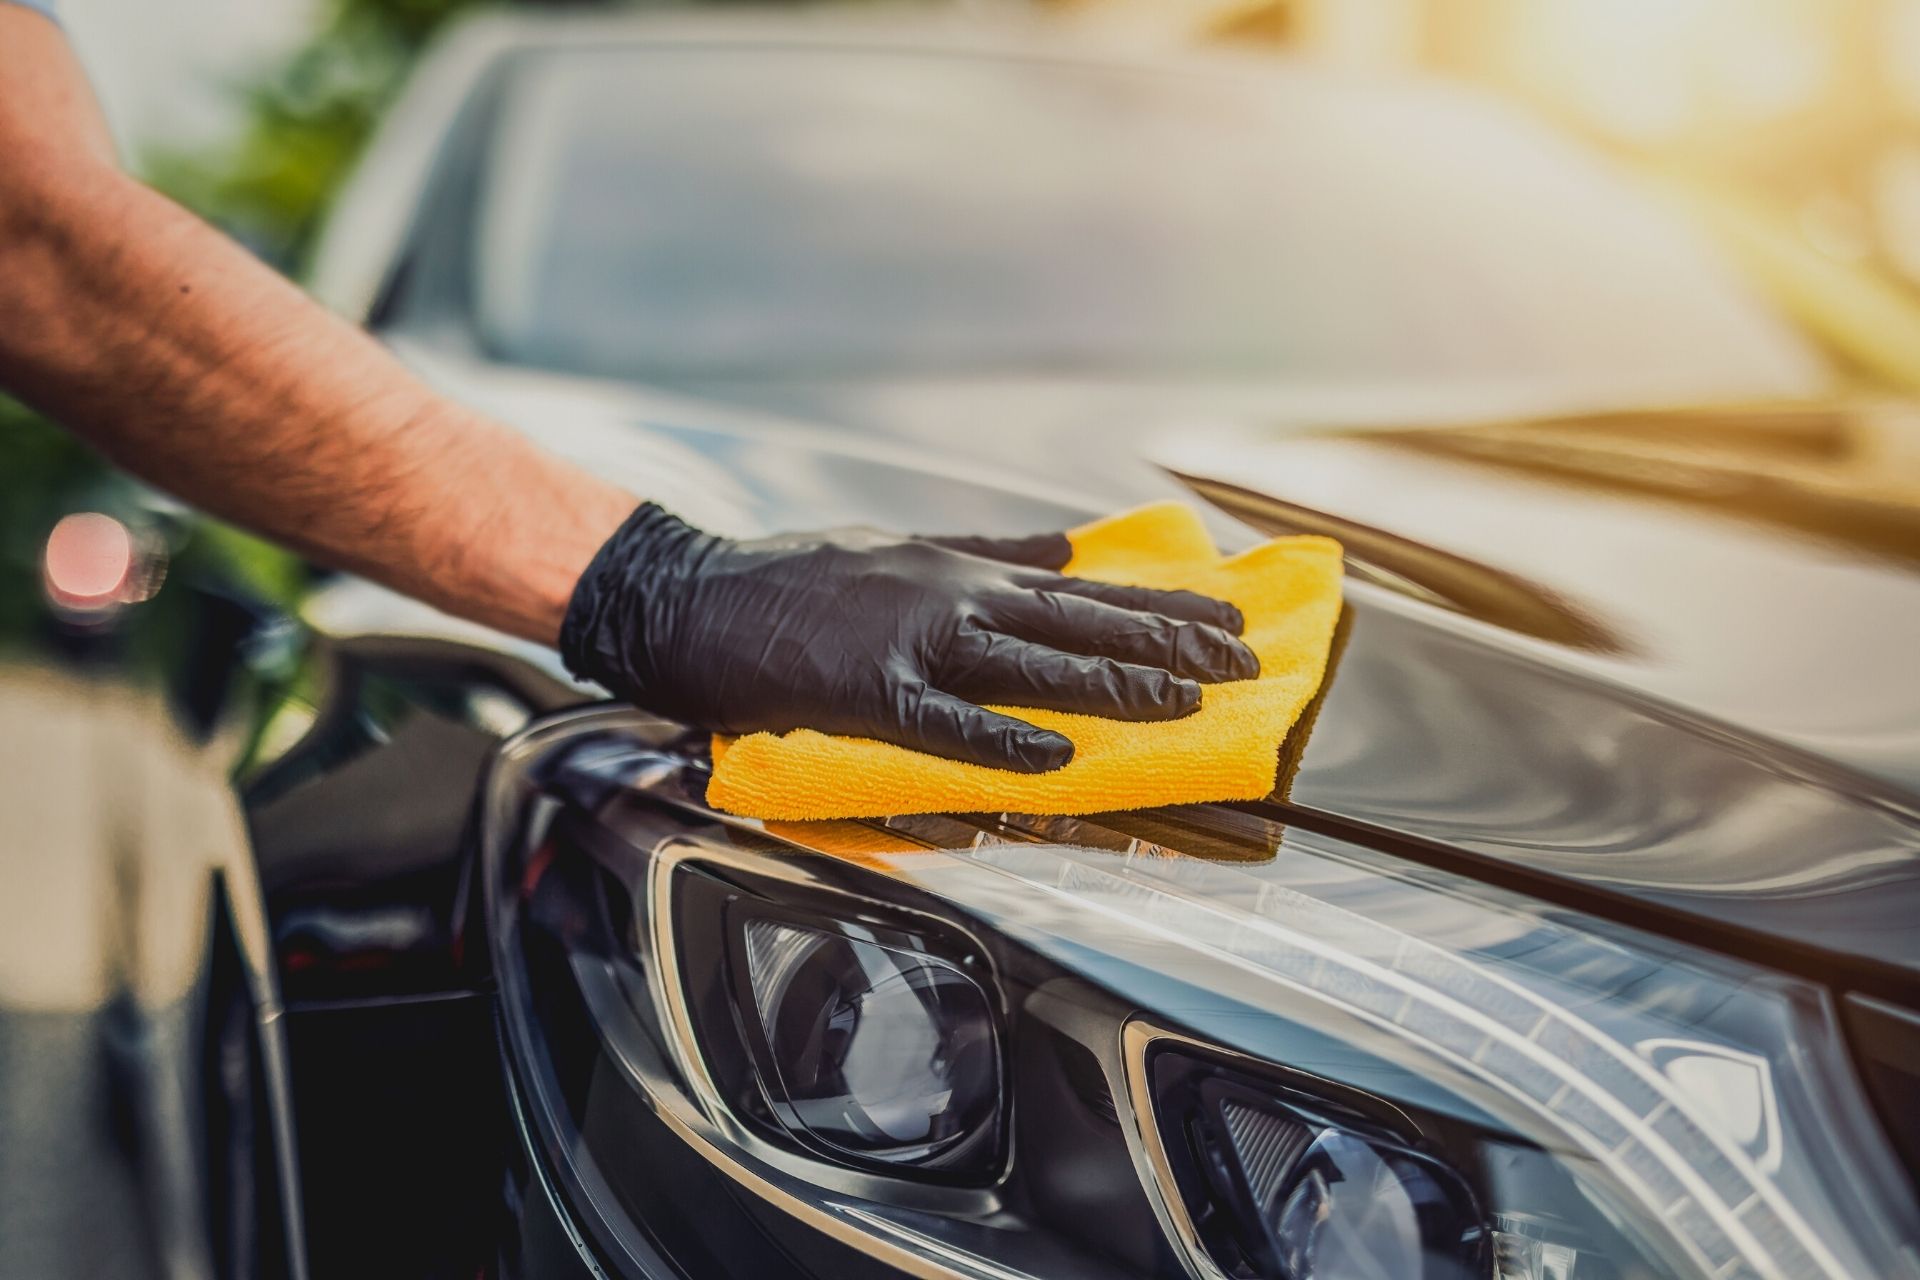
Every pro detailer invests in a generous supply of high-quality microfiber towels and wash mitts, which are made from thousands of tiny fibers finer than human hair. While regular towels and rags just push grime around, potentially scratching the paint, microfiber picks up and traps the dirt and dust as you clean.
Microfiber is also highly absorbent. After the wash, use clean microfiber towels to mop up any excess water on the car before it dries into streaks or water spots. Unlike regular towels and rags, which can shed lint and stray fibers onto the paint, microfiber towels leave nothing behind.
Two-Bucket Method
If you're using a single bucket of soapy water when washing your car, you're doing it wrong. With only one bucket, you’re constantly dipping your wash mitt into water that’s getting dirtier by the minute. The more you "clean”, the more dirt and grime you end up rubbing back into your paint, which can leave scratches and swirl marks.
That’s why pro detailers swear by the two-bucket method. Here’s how it works: fill one bucket with soapy water and the other with plain water. Start by dipping your wash mitt into the soapy water and wash a section of your car. Then, rinse the wash mitt in the plain water before soaping it up again for the next section.
This approach ensures the gunk that comes off your car stays behind in the rinse bucket, keeping your soapy water clean throughout the entire wash.
Foam Cannons and Pressure Washers
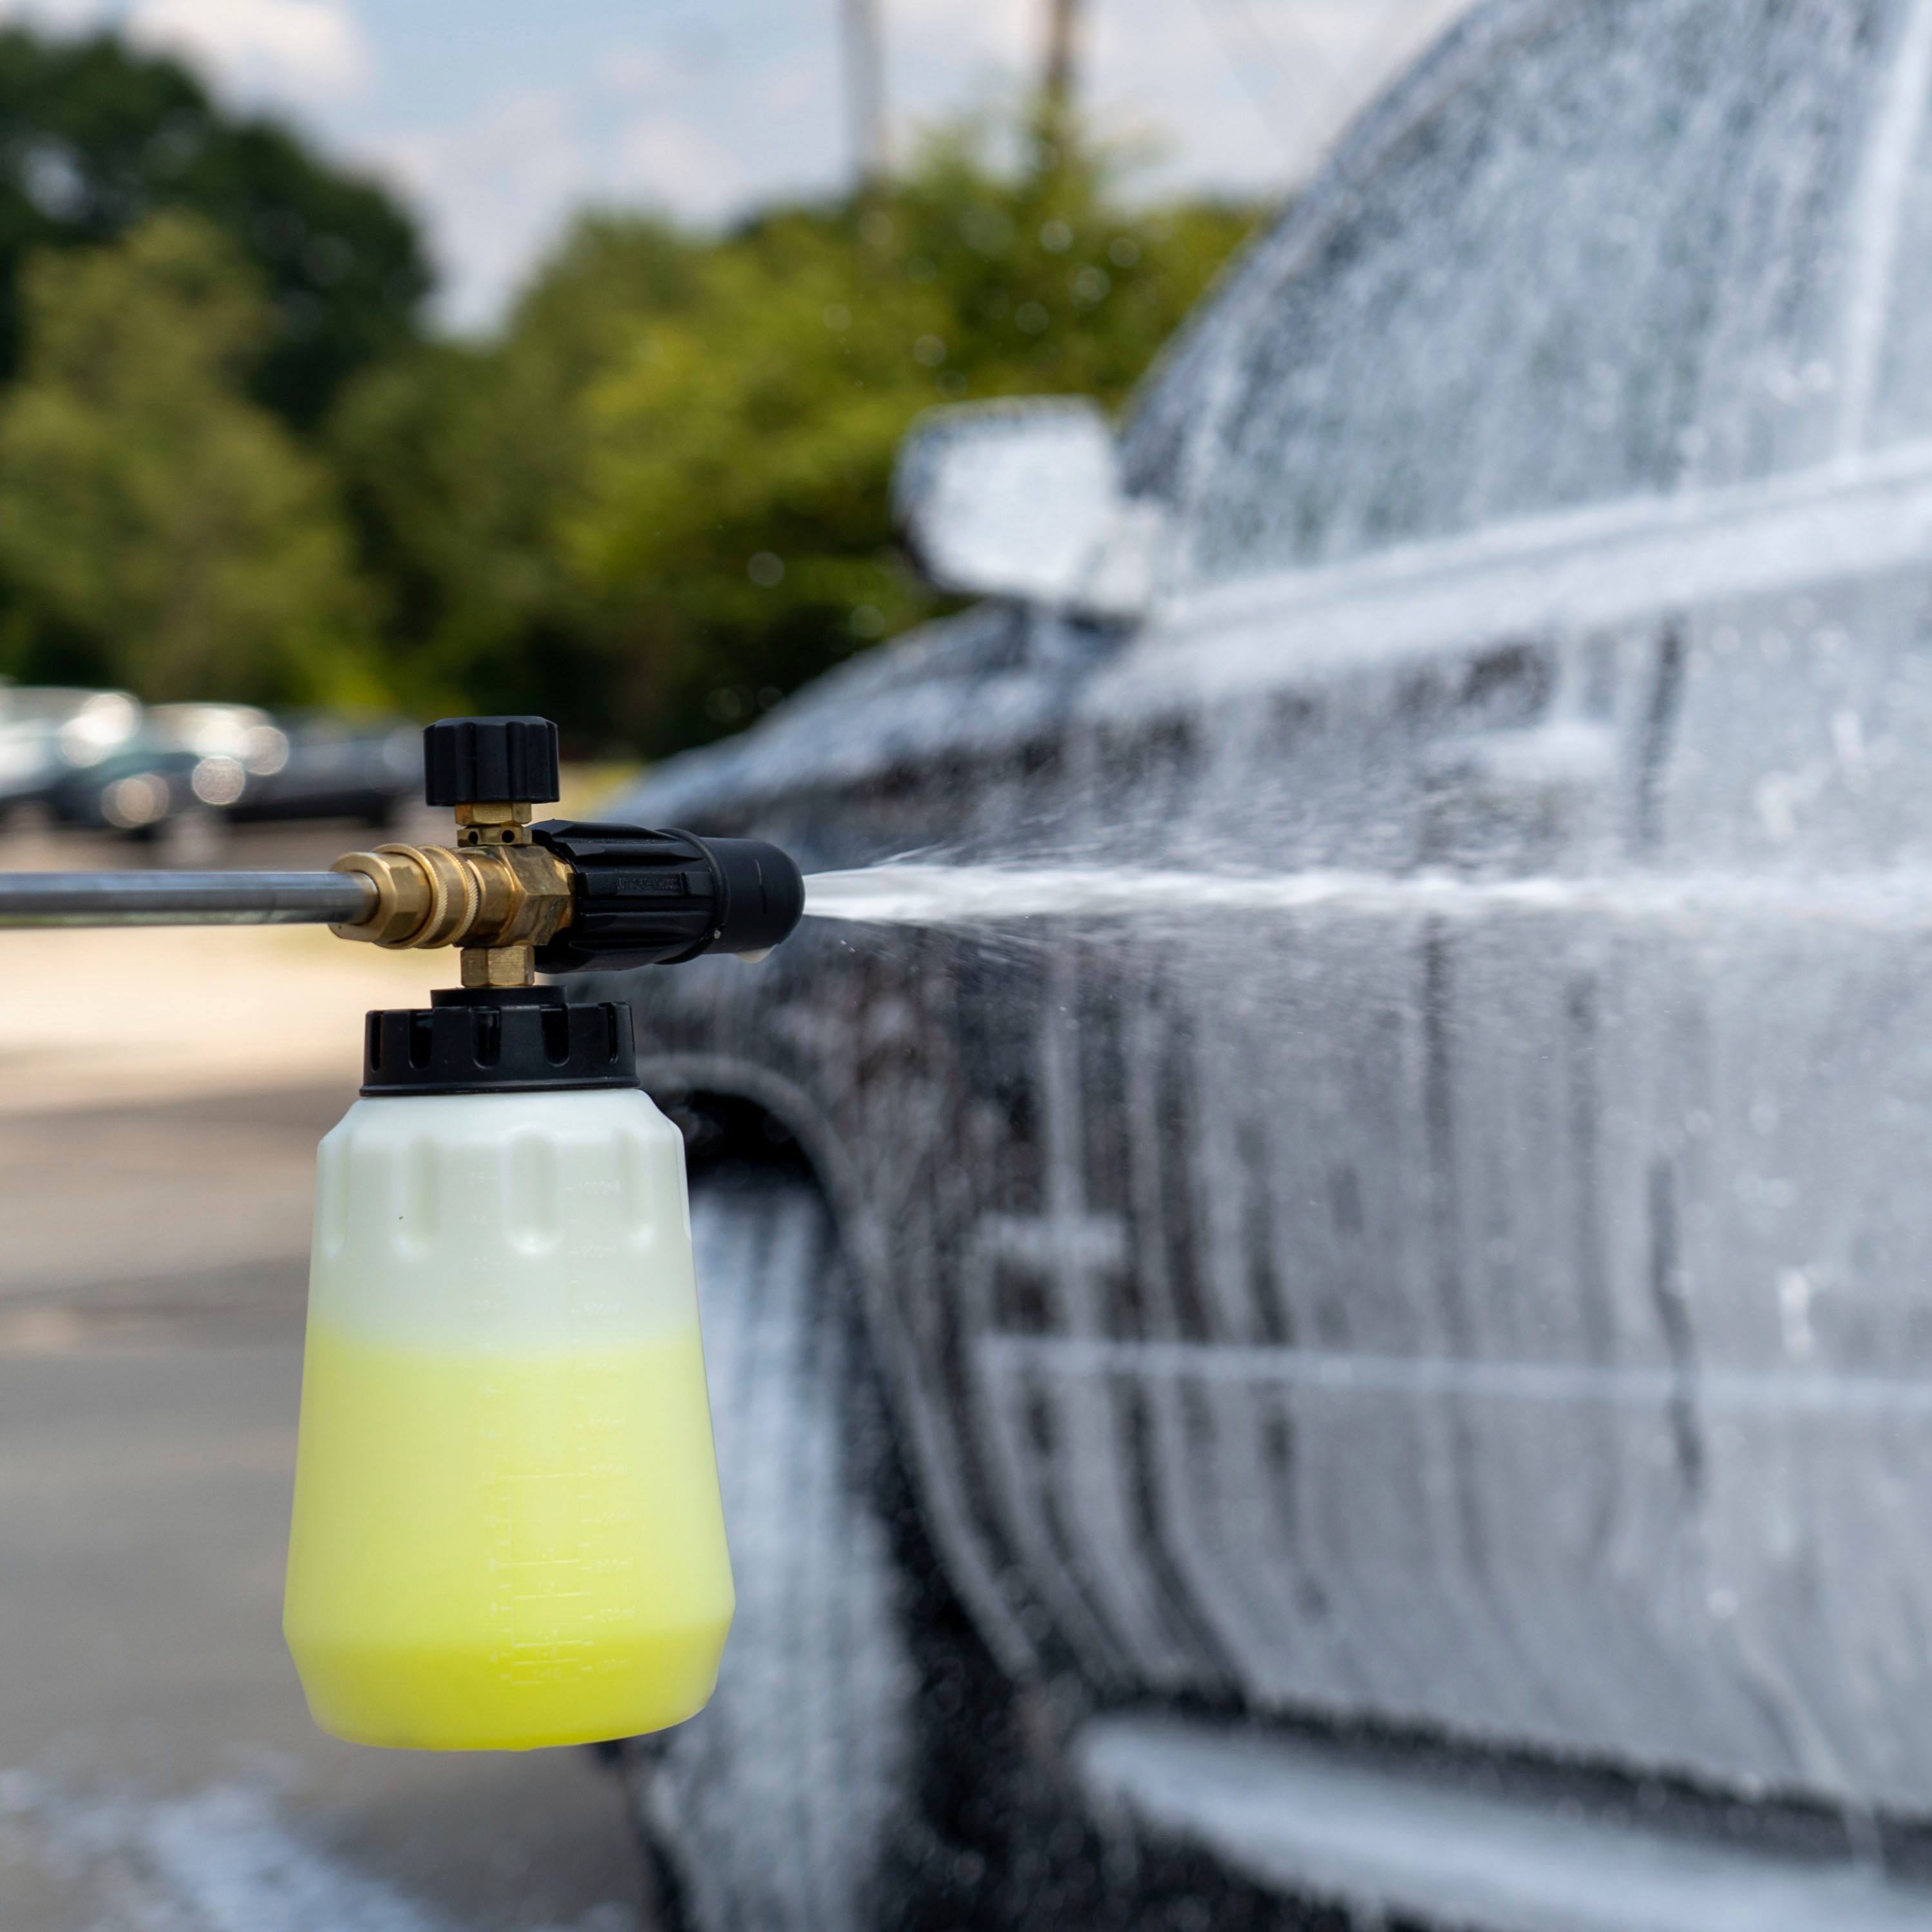
Foam cannons and electric pressure washers are increasingly popular tools in the car detail trade. This equipment works together to quickly cover your car in a thick shaving cream-like foamy layer of suds to loosen dirt and debris. After thoroughly rinsing the first layer of soap, foam the surface a second time and run a microfiber wash mitt along every surface to agitate and fully remove the remaining dirt and grime.
In choosing a pressure washer make sure it isn’t too powerful for car washing. Too much pressure can damage paint and dislodge trim pieces. The maximum pressure for car detailing is between 1200 and 1500 PSI, and use wide nozzles (25 to 40 degrees) to ensure the stream is not too intense.

Don't Skip the Clay Bar
No matter how thoroughly you wash your car’s paint, it’s likely still contaminated with tiny particles of brake dust, tree sap and other environmental hazards that can damage it over time. You can feel them if you run a fingertip across the paint’s surface. Before you polish and wax your paint, you need to remove this stubborn stuff with a clay bar.
The process is simple: spray a clay lubricant on a section of the car, then glide the clay bar across it, pulling up contaminants as you go. The result is a silky smooth surface that’s ready for polishing and waxing.
Polishing vs. Waxing
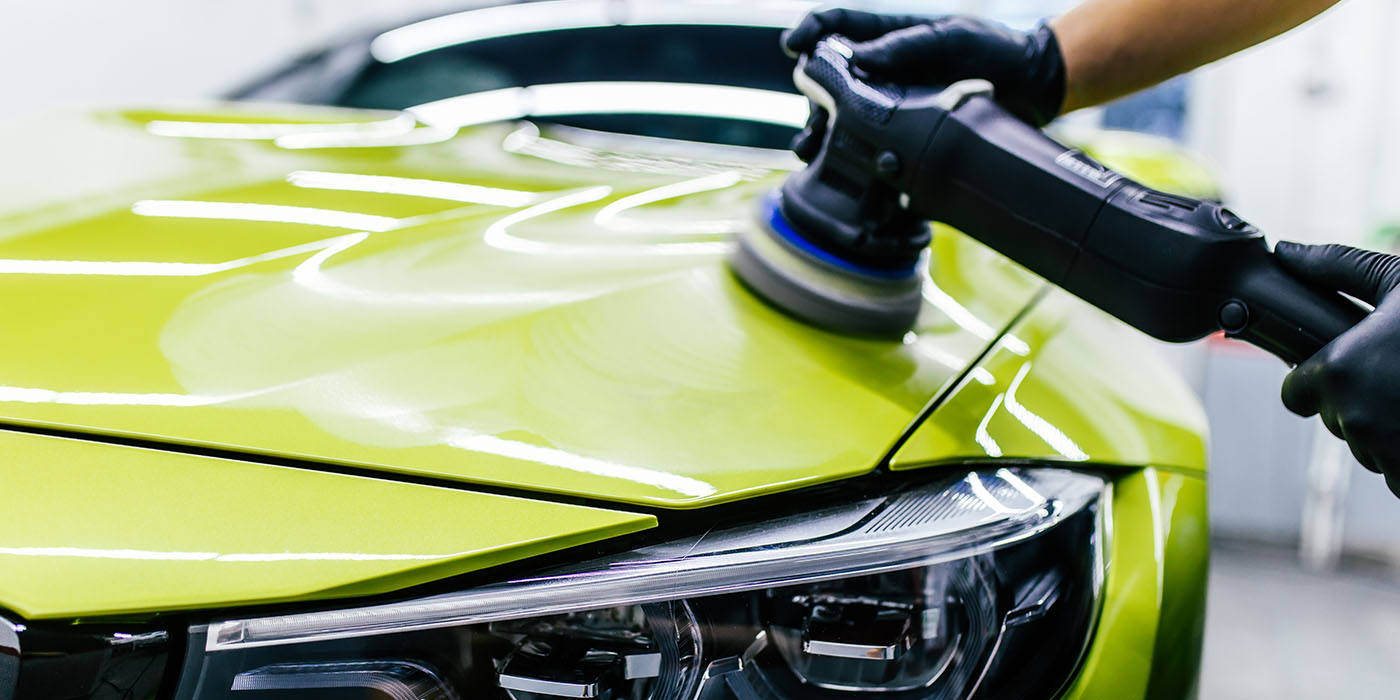
Many people think polishing and waxing paint are essentially the same thing. They're two distinctly different tasks. Polishing means using a mild abrasive to remove a very thin layer of the paint’s surface. This removes light scratches and swirl marks and restores clarity and depth to the color, making your car look newer and more vibrant.
Once the paint is polished, you can apply a layer of wax to seal in the shine and add a protective barrier against the elements. It also filters out the sun's harmful UV rays and keeps dirt and other contaminants from adhering to the surface. This helps to maintain that just-washed look for longer and make future washes easier.

Restore Faded Black Plastic and Rubber
Most modern cars have an abundance of black plastic and rubber trim that fades over time and looks beat, but it’s easy to bring it back to life with a simple two-step process.
Start with a soft brush and a dedicated plastic and rubber cleaner to scrub the surface. Once it's thoroughly clean and dry, apply a high-quality plastic and rubber restorer with an applicator pad or a microfiber cloth. Allow it to sit for a few minutes, then buff off any excess. For the best results, you may need to apply multiple coats.
By mastering these techniques, you can achieve professional-level results at a fraction of the cost of hiring a detailer and, if you love cars, you’ll enjoy the satisfaction of a job well done.
Still have questions? Speak to one of our Tinker Experts today!


