5. Test Your Battery

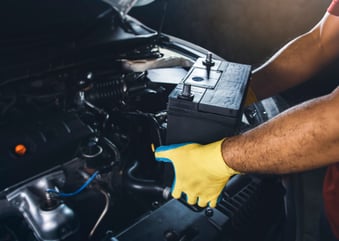
Start by checking the battery terminals for corrosion. if you find a white, ashy substance on the terminals, remove them and clean the terminals with a combination of baking soda, water and a $5 wire-brush-style battery terminal cleaner like this one from Harbor Freight.
To disconnect the battery safely, always start by removing the cable from the negative terminal (with the “-” sign). This reduces the risk of creating a short circuit. Likewise, when your project is complete, reconnect the negative terminal as your final step. This sequence protects both your safety and the integrity of the electrical system.
Next, use a multimeter such as this unit available from Summit Racing to test the battery voltage. A fully charged battery should show around 12.6 volts (with the engine off). If the reading is below 12.2 volts, it's probably time to replace the battery, which has a service life of about four years.
4. Check and Replace Important Fluids
It's essential to check the condition of your vehicle’s vital fluids. Always refer to your owner’s manual to verify the correct fluid types for your vehicle. If you're unsure or need help finding the right fluids, our Tinker experts are here to assist.

- Engine Oil: If the oil is dirty or over a year old, it’s time for an oil change and new oil filter. In hot climates, consider switching to a higher-viscosity oil for improved performance.
- Automatic Transmission Fluid: Ensure the fluid is fresh (pink and sweet-smelling) and at the proper level. Dark fluid with a burnt odor should be replaced.
- Brake Fluid: Over time, brake fluid absorbs moisture, which can lead to corrosion. Change it every two years and remember to bleed the system whenever working on your brakes.
- Engine Coolant: Replace the coolant if it appears rusty or is more than five years old. Filling your cooling system with water instead of coolant might seem like a cheap solution, but it’s risky. Water contains minerals and impurities that can lead to scale buildup within the cooling system, eventually causing overheating. The water will also crack your engine block when it freezes in cold temperatures. Coolant keeps this from happening, which is why it’s often referred to as anti-freeze.
- Important Safety Tip: Never open the radiator cap or loosen the clamp on a coolant hose when the engine is hot. Under normal operating conditions, your car’s engine coolant is about 200 degrees Fahrenheit and under extreme pressure. Releasing that pressure is extremely dangerous; hot coolant can spray out, causing burns or other injuries. Always allow the engine to cool down for an hour or two before you begin a cooling system repair.
3. Replace Your Engine and Cabin Air Filters
 The engine air filter is usually located within a black plastic casing near the front of the engine bay. Before removing the old filter, be sure to note its orientation – taking a picture is a helpful trick. Clean out any debris remaining in the housing before inserting the new filter.
The cabin air filter is typically found inside the car, either behind the glove box or under the dashboard. Your owner’s manual should provide the specific location as well as directions for accessing it. Again, before removing the old filter, note its orientation.
2. Inspect and Change Your Brake Pads

To check if it’s time to change your brake pads, perform a visual inspection of their thickness at all four wheels. Any brake pad that’s less than a ¼ inch (about 6 mm) thick needs to be replaced.
There are two pads at each wheel, but you don't always need to change all eight at once. A vehicle’s front brake pads tend to wear out faster since that's where most of your car's weight goes during braking.
However, don’t just do one side. It’s important to always change your four front brake pads (or your four rear) at the same time to maintain balanced braking and avoid uneven wear.
1. Check Your Tires

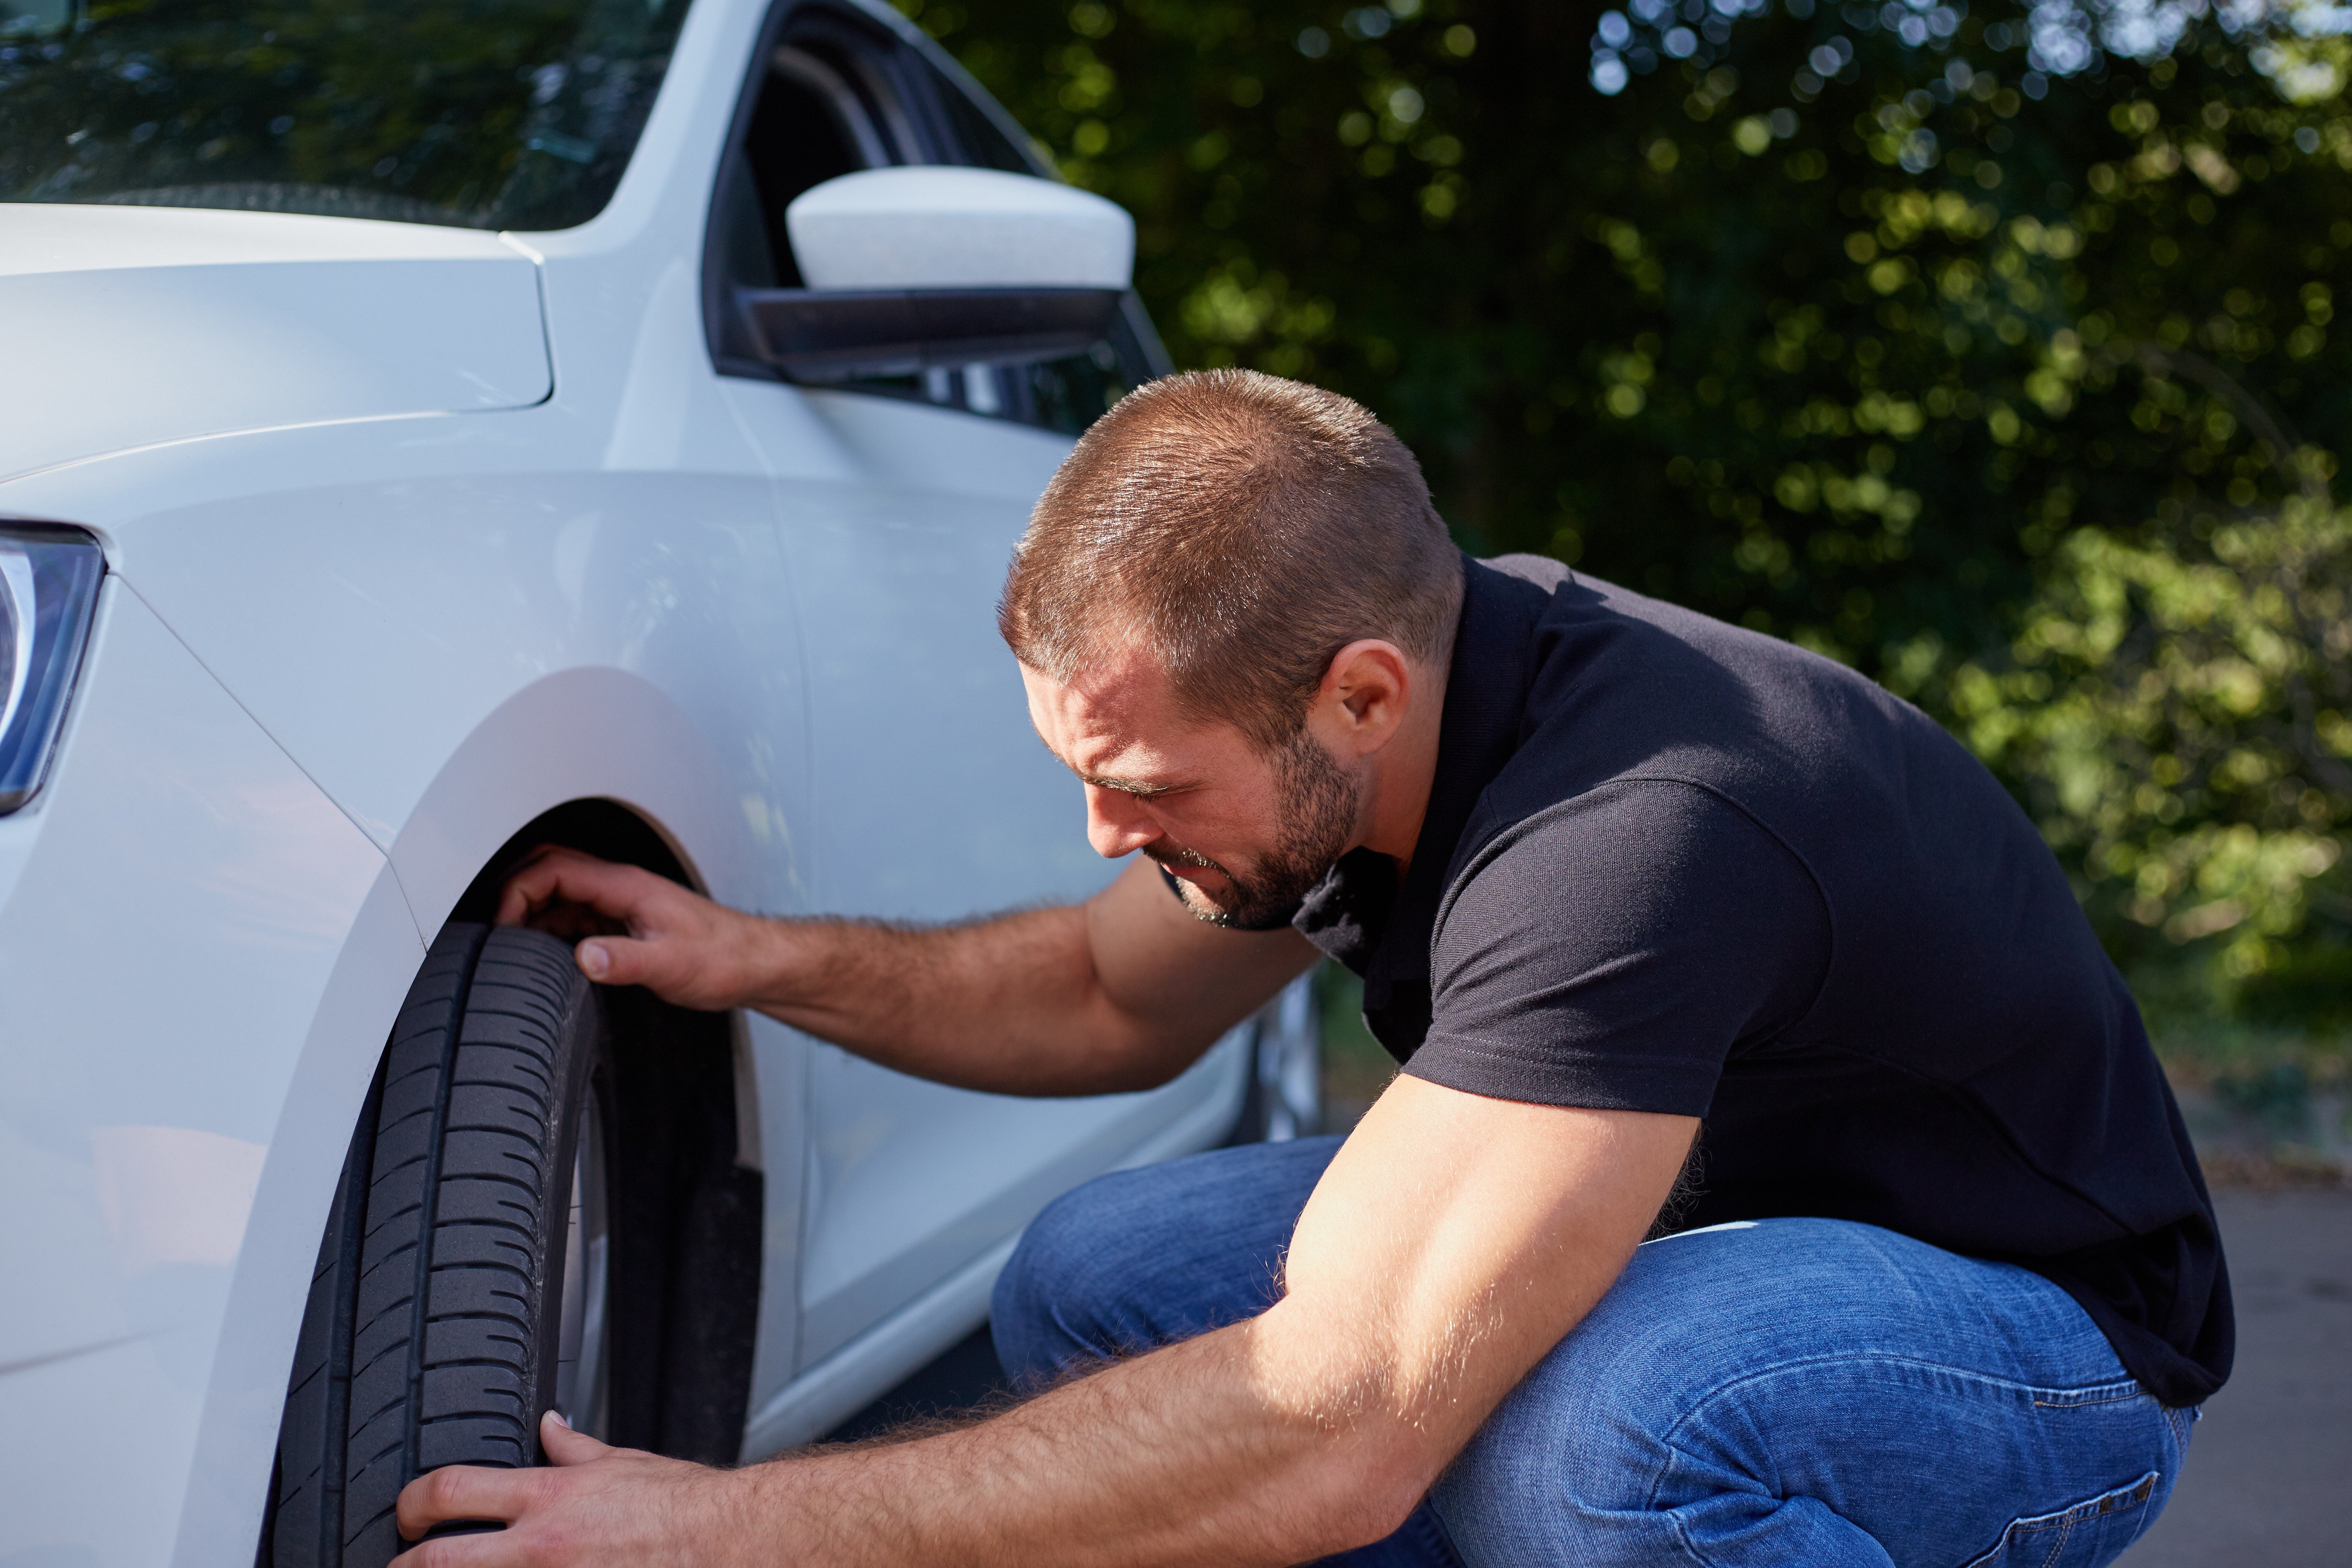
Car Care Month is also a great time to check the condition of your tires, whether you’re rolling on all-season, all-terrain or summer tires. Measure the tread depth of each tire with a dedicated tread depth gauge like this $5 unit that’s available at Autozone. If you don’t have a tread depth gauge, you can check your tread depth with a penny. Push the penny into a groove between tread blocks. If you can see all of Lincoln’s head, your tread is worn below 2/32-inch and your tires need to be replaced.
For more helpful DIY advice during Car Care Month, speak to one of our Tinker Experts today!


