A single missing checkbox or blurry photo can delay your rideshare vehicle inspection by days, costing you trips and earnings. Documentation errors are one of the most common reasons drivers fail approval on their first attempt, and the fix is usually straightforward once you know what to look for.
TinkerDIY helps rideshare drivers complete virtual inspections in under 20 minutes, and one lesson the Tinker Experts hear again and again is that preparation makes all the difference. This guide walks you through every document, photo, and form field you need to get right before you submit.
Quick Guide: How to Document Your Car for Rideshare Approval in 7 Easy Steps
- Confirm Your Platform's Inspection Requirements - Check your rideshare app's document section for state-specific forms and deadlines.
- Gather Your Vehicle Registration and Insurance - Collect current registration, active insurance, and your driver's license.
- Download the Correct Inspection Form - Use the platform-specific form for your state to avoid automatic rejection.
- Fill Out the Vehicle Information Section Accurately - Enter your VIN, plate number, make, model, and year exactly as they appear on your registration.
- Prepare Your Vehicle for the Inspection Checkpoints - Walk around your car and verify every safety item on the 19-point checklist.
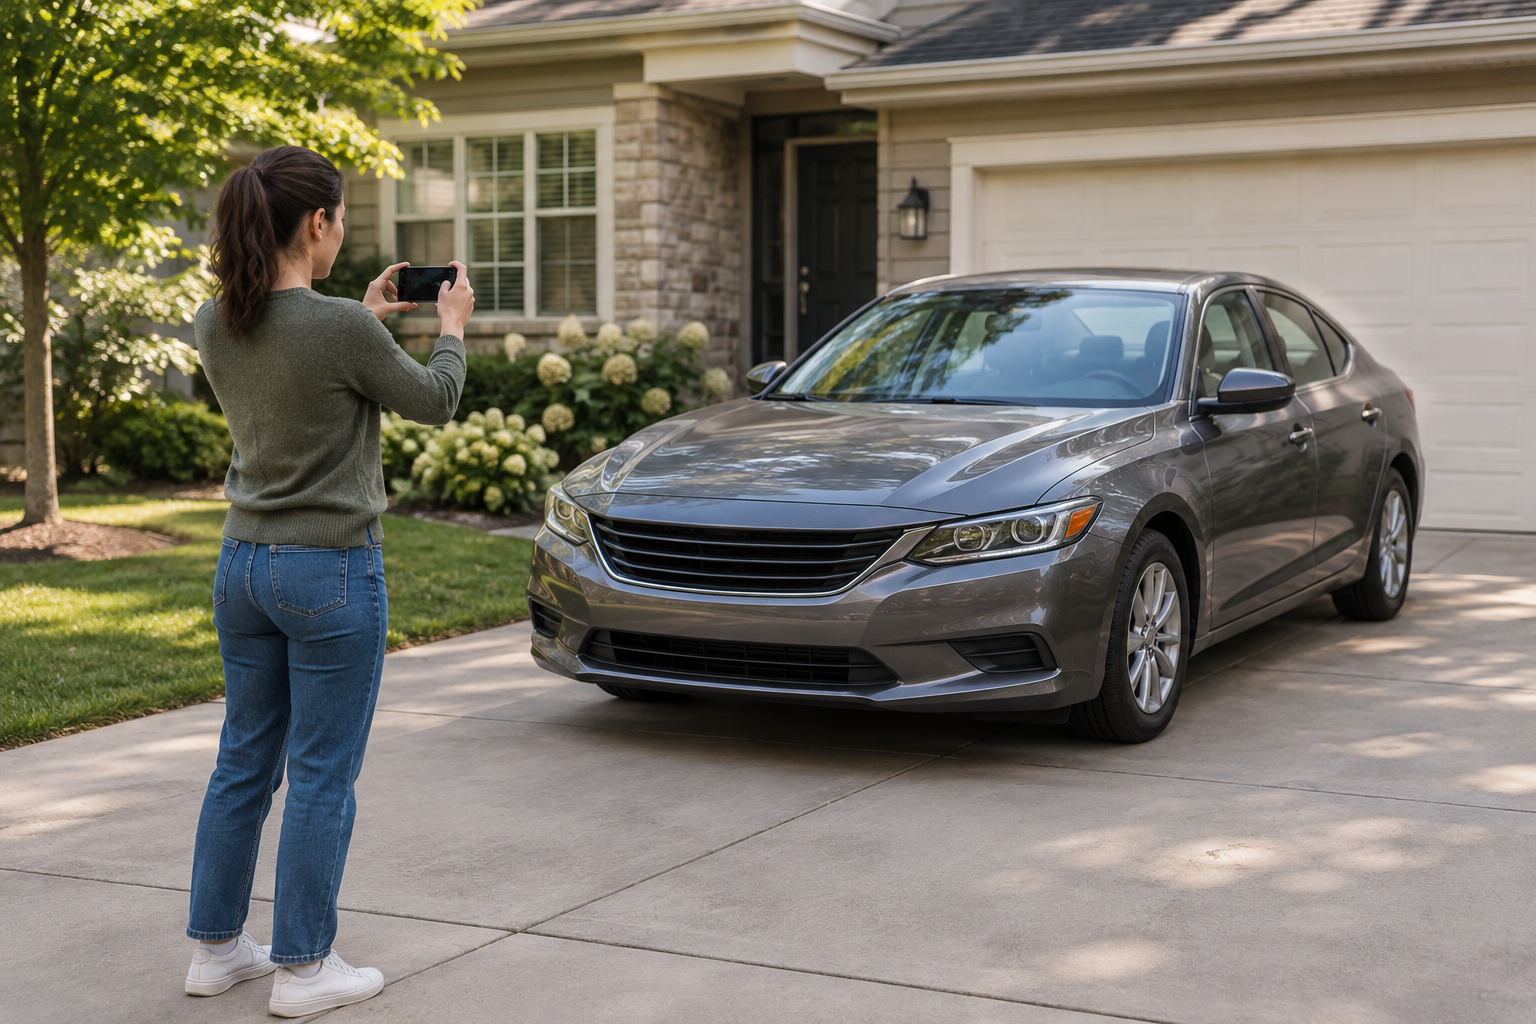
- Capture Clear Photos and Complete the Inspection - Use good lighting and steady hands to photograph each required angle and component.
- Upload and Submit Your Completed Documentation - Take a flat, well-lit photo of your signed form and upload it through your driver app.
How to Properly Document Your Car for Rideshare Inspection Approval
1. Confirm Your Platform's Inspection Requirements
Start by opening your Uber or Lyft driver app and navigating to the documents section. Each platform lists the specific inspection type required in your state, along with any deadlines tied to your account activation or annual renewal.
Requirements vary by city and state. Some areas accept virtual inspections, while others require an in-person visit to a certified mechanic or approved inspection provider. Knowing which path your market allows saves you from completing the wrong type of inspection entirely.
Pay attention to vehicle age limits too. Most platforms require your car to be no older than 15 years, though some cities set a tighter window. Confirming eligibility before paying for an inspection prevents wasted time and money.
2. Gather Your Vehicle Registration and Insurance
You need three core documents before starting any rideshare inspection: your current vehicle registration, an active insurance policy, and a valid driver's license. Each document must be unexpired and match the vehicle being inspected.
Your registration proves the car is legally road-ready and ties the vehicle to a specific VIN, plate number, and owner. Your insurance must show active coverage for the vehicle listed on your driver account. Some platforms also require a specific minimum coverage level, so check your state's rideshare insurance rules.
Keep digital copies on your phone alongside the originals. If you complete a virtual inspection through a service like TinkerDIY, your inspector may ask you to hold these documents up on camera for verification.
3. Download the Correct Inspection Form
Uber and Lyft each have their own inspection forms, and some states require unique versions with additional checkpoints. Using the wrong form, or a generic copy pulled from a random website, is one of the fastest ways to trigger an automatic rejection.
You can find the correct form inside your driver app under the documents or vehicle inspection section. TinkerDIY also provides downloadable state-specific inspection forms for both Uber and Lyft, organized by state so you grab the right version every time.
If you drive for both platforms, download both forms. The inspection criteria overlap heavily, but each company wants to see its own form filled out and signed. Many mechanics will complete both simultaneously if you bring them in together.
4. Fill Out the Vehicle Information Section Accurately
The top portion of the inspection form is your responsibility to complete before the mechanic reviews anything. You need to enter your vehicle's full 17-character VIN, license plate number, make, model, and year.
Double-check every character against your registration card. A single transposed digit in the VIN will get the form rejected during platform review because the system cross-references what you enter against the vehicle already on your driver account.
Write clearly if you are filling out a paper form. Illegible handwriting in the vehicle details section creates ambiguity that reviewers resolve by sending it back. For virtual inspections, the app typically pre-fills some of these fields, reducing transcription errors.
5. Prepare Your Vehicle for the Inspection Checkpoints
A standard rideshare inspection covers 19 to 25 safety checkpoints. Before your appointment or video call, run through each item yourself so there are no surprises during the official review.
Check that all exterior lights work: headlights (low and high beam), brake lights, turn signals, reverse lights, and the license plate light. A single burned-out bulb is enough to fail the entire form.
Test your horn, confirm every seat belt latches and retracts, and verify that all doors open and close properly from both inside and outside.
Inspect your tires for adequate tread depth. The penny test works well here: insert a penny with Lincoln's head facing down. If you can see the top of his head, the tread is too shallow.
Also look for visible damage, uneven wear, or sidewall bulges. Address any common inspection failure points before you submit.
Clear every dashboard warning light. A check-engine, airbag, or ABS indicator is an automatic fail in most markets. If a warning light is on, get the underlying issue diagnosed and resolved first. Your owner's manual can help you identify what each indicator means.
6. Capture Clear Photos and Complete the Inspection
For remote inspections, photo quality determines whether your submission gets approved or bounced back. Shoot in natural daylight or a well-lit garage, and keep your phone steady to avoid blur.
Photograph every angle the platform requires: front, rear, driver side, and passenger side exterior views. Capture close-ups of your VIN plate (usually visible through the lower-left corner of the windshield), odometer reading, and tire tread.
Make sure text in every image is fully legible, and include any additional components the form specifically lists.
During a live video inspection with TinkerDIY, an ASE-certified Tinker Expert guides you through each checkpoint in real time, telling you exactly where to point the camera next. This eliminates the guesswork that often leads to rejected photo submissions.
7. Upload and Submit Your Completed Documentation
Once the mechanic signs and dates the form, take a clean photo of the entire document. Lay it flat on a table and avoid overhead glare. All four corners must be visible in the frame.
Every field needs to be readable, including the inspector's signature, certification number, and business address. According to Michigan's TNC vehicle safety inspection requirements, drivers must provide documentation showing that all required components were inspected, and incomplete forms are subject to audit.
Upload the image through your driver app under the documents or vehicle inspection section. If your state's form has multiple pages, some platforms require you to merge them into a single file before submitting. Check this in advance so you are not scrambling after the inspection.
Most platforms review uploaded forms within 24 to 48 hours. You will receive a notification when your document is approved or if corrections are needed. If your upload is rejected for a documentation issue, fix the specific problem and resubmit rather than starting a new inspection from scratch.
What Happens If Your Rideshare Inspection Form Gets Rejected?
Rejection usually traces back to a small, fixable problem rather than a serious vehicle deficiency. The most frequent causes are blurry or cropped photos, missing mechanic signatures, incorrect form versions, and VIN mismatches between the form and your driver account.
When you receive a rejection notice, read it carefully. Platforms typically specify the exact issue that triggered the return, so you know precisely what to fix.
In most cases, you do not need a brand-new inspection. Correct the identified problem, retake the photo or get the missing field completed, and resubmit.
If you are stuck in a cycle of repeated rejections, a quick review from a professional can confirm whether your vehicle and documents actually meet the platform standards before you try again. TinkerDIY's Tinker Experts can answer your specific questions and walk you through the resubmission process.
Do You Need a Separate Inspection for Each Rideshare Platform?
Uber and Lyft each require their own inspection form, even though the checklists overlap significantly. Submitting one platform's form to the other is a common reason for rejection because each company looks for its own format and branding on the document.
The most efficient approach is to bring both forms to your mechanic at the same time. Since the inspection criteria are nearly identical, most shops will fill out both during a single visit. This saves you a second trip and a second fee.
For virtual inspections, TinkerDIY offers bundle plans that cover both Uber and Lyft in one session. Your Tinker Expert completes both forms during the same video call and delivers signed copies directly to your email, ready for upload to each driver account.
How TinkerDIY Helps You Document Your Car for Rideshare Approval
TinkerDIY's virtual rideshare inspection takes the documentation headaches out of the approval process. You connect with an ASE-certified Tinker Expert over a live video call right from your phone, and they guide you through every checkpoint and required photo angle in about 15 minutes.
Because the Expert is watching in real time, documentation errors get caught and corrected on the spot rather than bouncing back days later. Your signed inspection form is delivered digitally within minutes of passing, formatted and ready for direct upload to Uber, Lyft, or Turo.
Every TinkerDIY plan includes up to three inspection attempts, so if something does not pass on the first try, you get clear guidance on what to fix and a free follow-up call. No repeat fees, no rebooking at a shop, no lost driving days.
Get started with TinkerDIY and get back on the road faster.
FAQs About Rideshare Vehicle Inspection Documentation
What documents do I need for a rideshare vehicle inspection?
You need a current vehicle registration, an active insurance policy, a valid driver's license, and the correct platform-specific inspection form for your state. TinkerDIY provides downloadable forms for both Uber and Lyft, organized by state.
How do I avoid getting my inspection form rejected?
Make sure every field on the form is filled out completely, the mechanic's signature and certification number are legible, and your photo captures all four corners of the document without glare or blur. Verify that the VIN on the form matches your registration exactly.
Can I use the same inspection for Uber and Lyft?
Each platform typically requires its own form. TinkerDIY's bundle plan lets you complete both Uber and Lyft inspections in one virtual session, so your Tinker Expert fills out and signs both forms during the same video call.
How long does a virtual rideshare inspection take?
A virtual inspection with TinkerDIY takes about 15 to 20 minutes. You connect with an ASE-certified Tinker Expert over live video, walk through each checkpoint, and receive your signed form by email shortly after passing.
What are the most common reasons for rideshare inspection failure?
The top causes are active dashboard warning lights, burned-out bulbs, worn tires, cracked windshields, and non-functional seat belts. On the documentation side, blurry photos, missing signatures, and VIN mismatches also trigger rejections frequently.